.NET Core RC2がリリースされたので、早速さわってみることにしました。 RHEL上ではまだサポートされていませんが、とりあえずCentOS用のインストールと同じコマンドを実行するとインストールできることもわかりました。 今回やった範囲では、基本的に.NET CoreがサポートしているどのLinuxディストリビューションでも同じだと思います。(もっといえば、WindowsやMacでも同じはず)
今回は、空のASP.NET テンプレートプロジェクトから必要最低限の要素を足して、MVCを利用可能にしてみることにしました。 テンプレートプロジェクトといいましたが、今迄はVisual Studioの機能でテンプレートを生成していましたが、LinuxではVisual Studioは動かないので、Yemonを使ってインストールすることにします。
nodejsとnpmがインストールされた状態で、Yemonをいれます。
$ npm install -g yo
そして、ASP.NET用のライブラリをいれます。
npm install -g generator-aspnet
ここまですんだら、まず最初に空のASP.NET Webのプロジェクトを生成します。カレントディレクトリにプロジェクト名でフォルダが生成され、その中にコードが生成されます。
$ yo aspnet

     _-----_
    |       |    .--------------------------.
    |--(o)--|    |      Welcome to the      |
   `---------´   |  marvellous ASP.NET Core |
    ( _´U`_ )    |      1.0 generator!      |
    /___A___\    '--------------------------'
     |  ~  |
   __'.___.'__
 ´   `  |° ´ Y `

? What type of application do you want to create? Empty Web Application
? What's the name of your ASP.NET application? MyWebApp
   create MyWebApp/.gitignore
   create MyWebApp/Program.cs
   create MyWebApp/Startup.cs
   create MyWebApp/project.json
   create MyWebApp/web.config
   create MyWebApp/Dockerfile
   create MyWebApp/Properties/launchSettings.json
   create MyWebApp/README.md


Your project is now created, you can use the following commands to get going
    cd "MyWebApp"
    dotnet restore
    dotnet build (optional, build will also happen when it's run)
    dotnet run
プロジェクトが作られました。プロジェクトテンプレートの中にASP.NET MVCというのもありますが、いろいろ入ってしまっているので、よりシンプルなものから追加してみることにしたのです。
次にproject.jsonを編集して、MVC用のライブラリを追加します。
{
  "dependencies": {
    "Microsoft.NETCore.App": {
      "version": "1.0.0-rc2-3002702",
      "type": "platform"
    },
    "Microsoft.AspNetCore.Server.IISIntegration": "1.0.0-rc2-final",
    "Microsoft.AspNetCore.Server.Kestrel": "1.0.0-rc2-final",
    "Microsoft.AspNetCore.Mvc": "1.0.0-rc2-final",
    "Microsoft.AspNetCore.Razor.Tools": {
      "version": "1.0.0-preview1-final",
      "type": "build"
    }

  },

  "tools": {
    "Microsoft.AspNetCore.Server.IISIntegration.Tools": {
      "version": "1.0.0-preview1-final",
      "imports": "portable-net45+win8+dnxcore50"
    },
    "Microsoft.AspNetCore.Razor.Tools": {
      "version": "1.0.0-preview1-final",
      "imports": "portable-net45+win8+dnxcore50"
    }
  },

  "frameworks": {
    "netcoreapp1.0": {
      "imports": [
        "dotnet5.6",
        "dnxcore50",
        "portable-net45+win8"
      ]
    }
  },

  "buildOptions": {
    "emitEntryPoint": true,
    "preserveCompilationContext": true
  },

  "runtimeOptions": {
    "gcServer": true
  },

  "publishOptions": {
    "include": [
      "wwwroot",
      "web.config",
      "views"
    ]
  },

  "scripts": {
    "postpublish": [ "dotnet publish-iis --publish-folder %publish:OutputPath% --framework %publish:FullTargetFramework%" ]
  },

  "tooling": {
    "defaultNamespace": "MyWebApp"
  }
}
この時点でdotnet restoreしておきます。Visual Studio Codeだと、F1メニューからも実行できます。
次にStartup.csを編集します。
using System;
using System.Collections.Generic;
using System.Linq;
using System.Threading.Tasks;
using Microsoft.AspNetCore.Builder;
using Microsoft.AspNetCore.Hosting;
using Microsoft.AspNetCore.Http;
using Microsoft.Extensions.Configuration;
using Microsoft.Extensions.DependencyInjection;

namespace MyWebApp
{
    public class Startup
    {
        // This method gets called by the runtime. Use this method to add services to the container.
        // For more information on how to configure your application, visit https://go.microsoft.com/fwlink/?LinkID=398940
        public void ConfigureServices(IServiceCollection services)
        {
            services.AddMvc();
        }

        // This method gets called by the runtime. Use this method to configure the HTTP request pipeline.
        public void Configure(IApplicationBuilder app)
        {
            app.UseMvc(routes =>
            {
                routes.MapRoute(
                    name: "default",
                    template: "{controller=Home}/{action=Index}/{id?}"
                );
            });
        }
    }
}
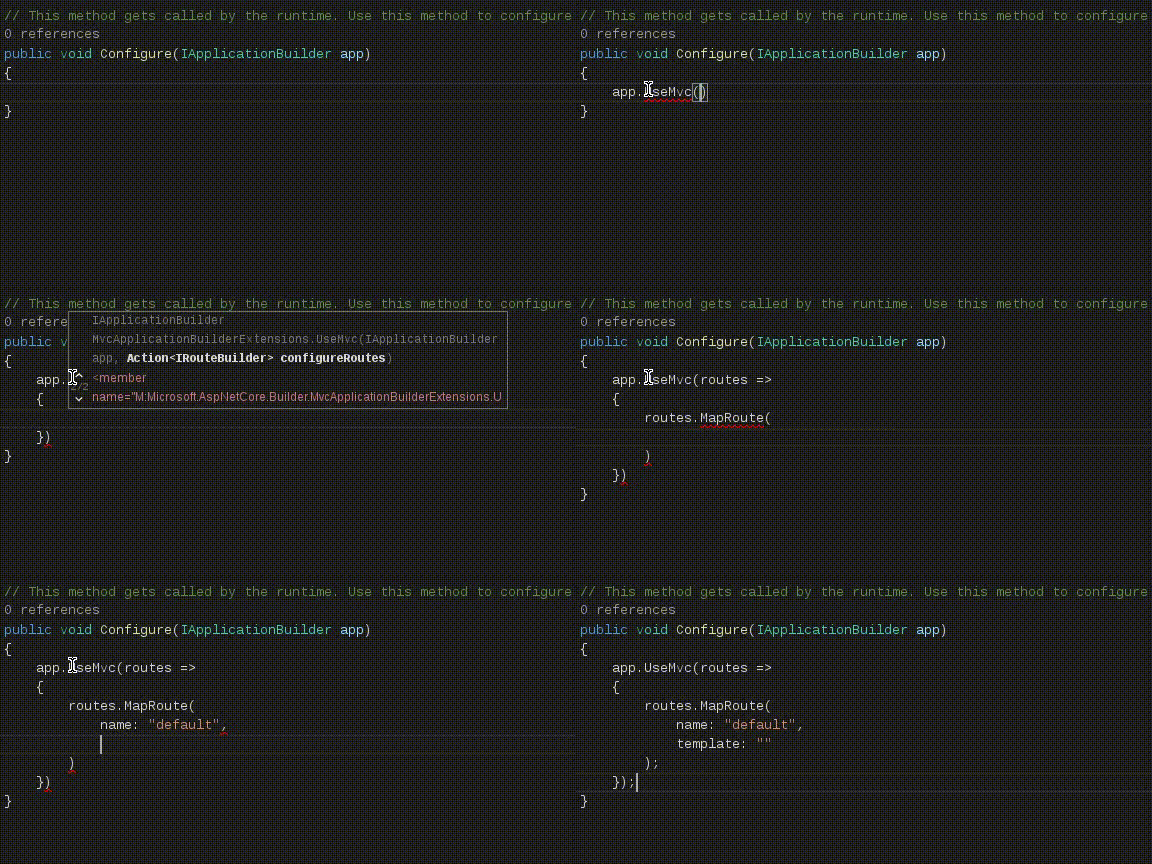
Visual Studio Codeを使って編集すると、こんな感じに補完が効きます。

そして、ControllerとViewを追加します。Yeomonのファイル単位でのコード生成機能を使います。ディレクトリは事前に作っておく必要がありました。
$ mkdir Controllers
$ yo aspnet:MvcController HomeController
You called the aspnet subgenerator with the arg HomeController
HomeController.cs created.
   create HomeController.cs
$ mkdir Views
$ yo aspnet:MvcView Home/Index
You called the aspnet subgenerator with the arg Home/Index
Home/Index.cshtml created.
   create Home/Index.cshtml
今回、Controllerはデフォルトのままでよいので、Viewに表示するコンテンツを記述しておきます。
@*
    For more information on enabling MVC for empty projects, visit https://go.microsoft.com/fwlink/?LinkID=397860
*@
@{
    ViewBag.Title = "Home";
}

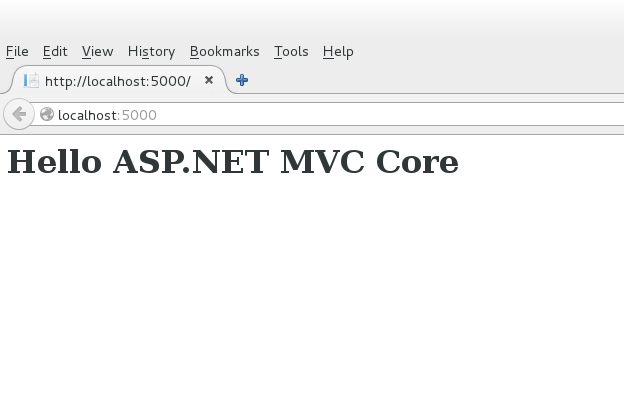
<h1>Hello ASP.NET MVC Core</h1>
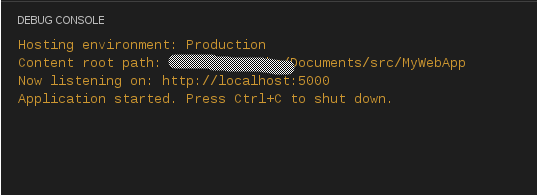
あとは、dotnet runもしくはVisual Studio Codeのデバッグ実行をして、ブラウザからアクセスします。


やってみた感想としては、Visual Studio CodeとYemonの組み合わせが想像以上に使い勝手がよかったのが驚きでした。